
The last couple of days have been spent getting the hard mounts installed into the body of the velomobile. These mounts which I put together a few posts back are the wooden blocks with the threaded inserts mounted in them so that the body mount can be mounted on the frame of the TerraTrike and then on to the body to hold it in place. This is not a difficult task to do but care must be taken to get it right the first time as to correct a mistake after it has been installed would be a royal pain. Luckily I managed to get it done without a lot of drama.

This shot gives you a good view of the front axle mounts. The orange mounts (near both front wheels) are attached to the front cross tube and then an aluminum tube extends vertically to the small yellow mount at the top which then bolt to the hard mounts.

Here I had to double check the fit up of the front mount to the body and the front deraileur tube. It turned out that the aluminum tubes in the front mount assembly were 3/8th of an inch to long. This in turn slid the entire body forward enough to throw off the alignment of the front wheels and the wheel openings. This would not do so I had to take the assembly apart and make new tubes. Once this had been completed I reinstalled the assembly into the velomobile and all was right with the world.

Using a marking pen I traced an outline around the two yellow front mounts so that an indentation for the hard mounts could be cut into the fiber glassed panel.

After quick work was done to cut out a section of the foam pan with a Dremel tool I then removed the top layer of fiberglass. Next using a hot wire tool I removed the inch thick foam to make a cavity for the front hard mounts.

The front side of the same panel was reinforced with a triple layer of eight ounce fiber glass. This make the cavity very solid for the next steps. I then took fiber glass resin and a micro-balloon mixture to make a stiff putty. This was spread on to all of the hard mounts where the body would touch them when the body was placed on all of the mounts. This was left over night to cure so that it would locate and temporarily hold the hard mounts in their correct locations until the final finishing work on the mounts could be done today.

I removed the body from the Terratrike frame and the mounts were then ready to be completed. Here you see the two front cross tube mounts. I wrapped the perimeter of the hard mount again with foam and filleted all the edges. This then was double wrapped with fiber glass and resin and left to cure. It makes a nice strong mount that will look good once it has been painted

A good close look at one of the front cross tube hard mounts after it has been glassed into place. The hard mount now is locked in place and will be set up perfectly to mount the body to the TerraTrike once it as been completed.
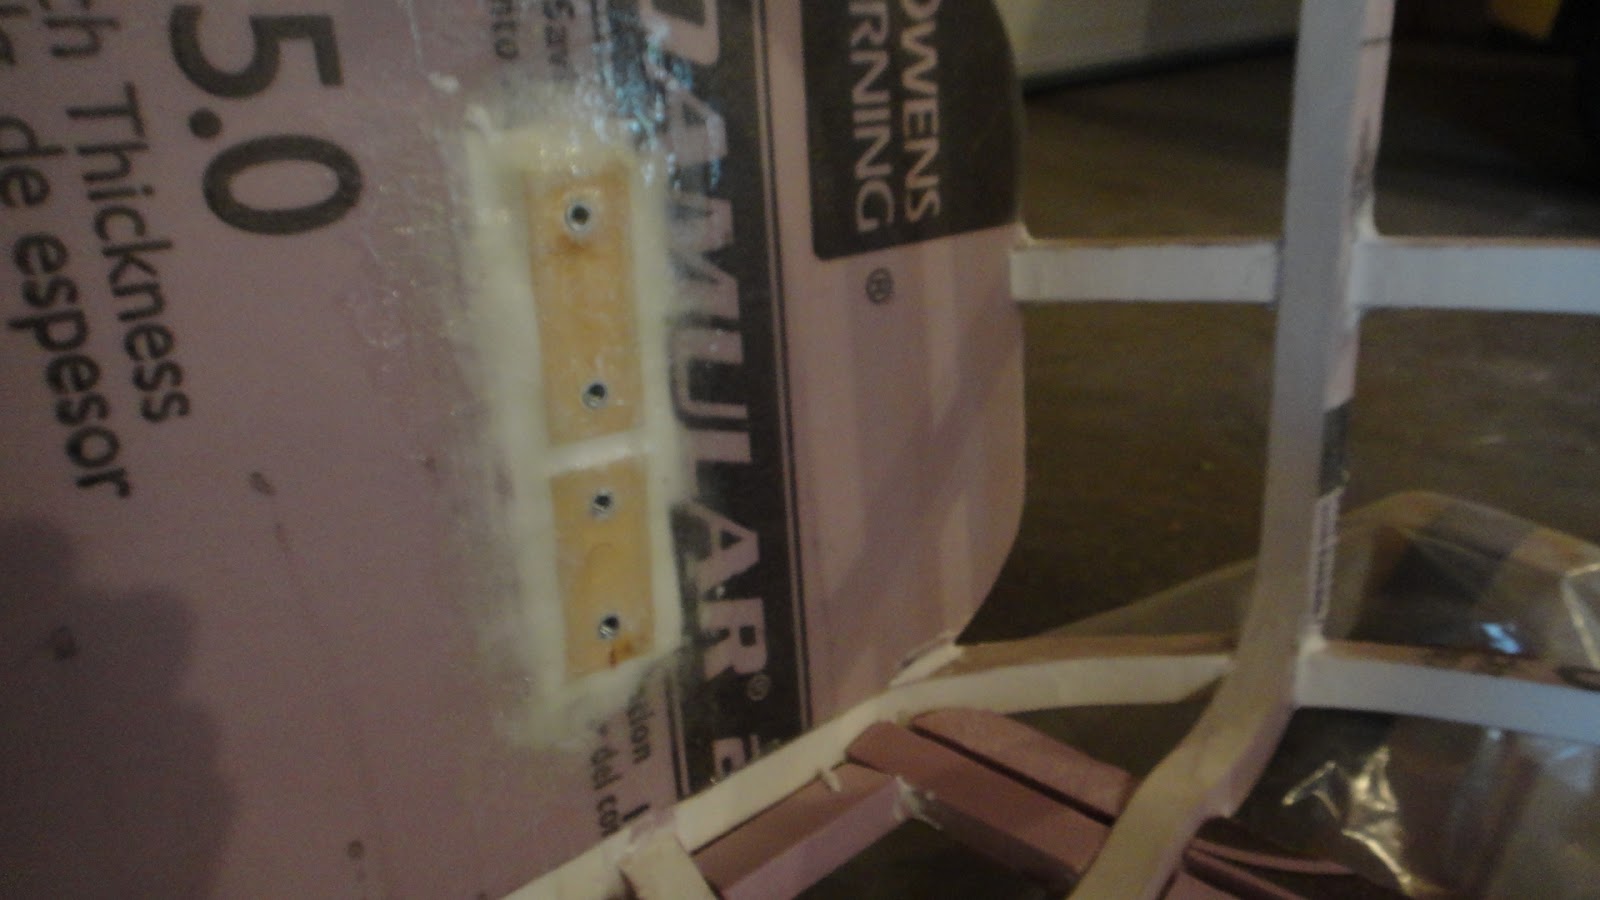

Here are a couple photos of the front hard mounts glassed into place. The white around the hard mounts is the epoxy micro-balloon putty to fill the void in the cavity that was made earlier in the front panel. Once the putty had been installed it was just a matter of glassing over the mounts to seal it up.

In this shot you can see the rear mounts after they had been completed. It took me around four hours to get this part of the project done but now the body will mount to the TerraTrike perfectly every time as the mounts are exactly where I want them and the threaded inserts in the hard mounts make the task an easy one.
Over the next few weeks I will start laying down foam strips on the framework of the velomobile similar to what you would do to make a cedar strip canoe. This is one task that I find most enjoyable in this project. It really will bring the Velomobile to life once it has been skinned.
Total time now on the project is around 200 hours. 100 hours for design and another 100 for the construction so far. But as you can see from this post and earlier posts a lot has been accomplished. Which makes it worth the effort.
No comments:
Post a Comment